 Husbryg
 Installing Home Assistant
In order to make testing and monitoring of the MQTT setup easier, I have installed Home Assistant which is an open source automation platform. This isn’t necessary for the MQTT server but provides a web based management interface and also provides all kind of integrations with various other services. For details about how to install the Mosquitto MQTT server please check out this previous post.
In order to run Home Assistant from macOS, Python 3.7 or later is required. Python can be downloaded from python.org.
Once Python is installed, Home Assistant can be installed from the command line using the following.
$ python3 -m venv homeassistant
$ source homeassistant/bin/activate
$ pip3 install homeassistant
Finally, to have Home Assistant start on boot, run the following from the command line:
$ hass --script macos install
==> Home Assistant has been installed. Open it here: http://localhost:8123
The first time Home Assistant is started, it will create a default configuration and initialize the automatic device discovery . It can now be reached from a browser. First time you will be asked to create a user account and name the setup.
Connecting with Mosquitto MQTT Server
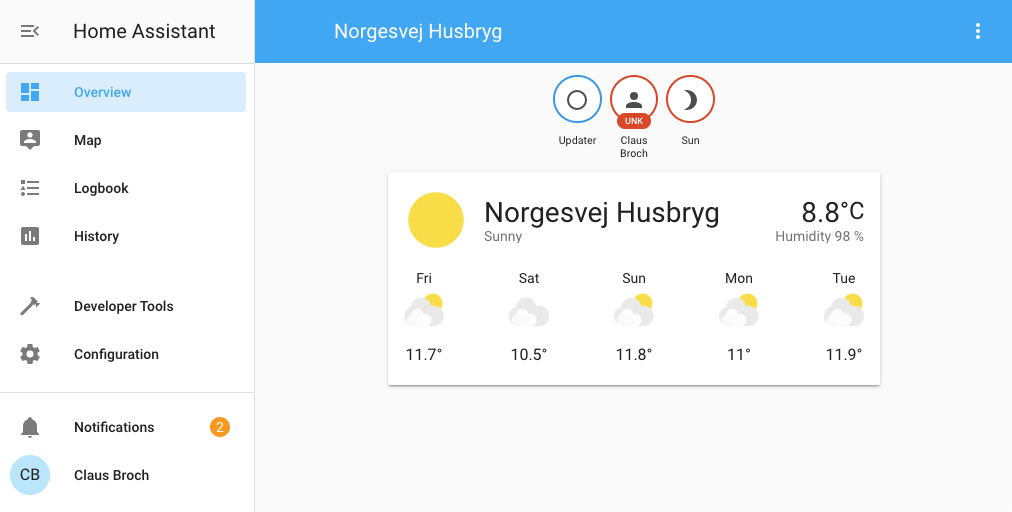
Once Home Automation is up and running it needs to be connected to the local Mosquitto MQTT server. This is done by navigating to “Configuration” -> “Integrations” and clicking on the “+” button.
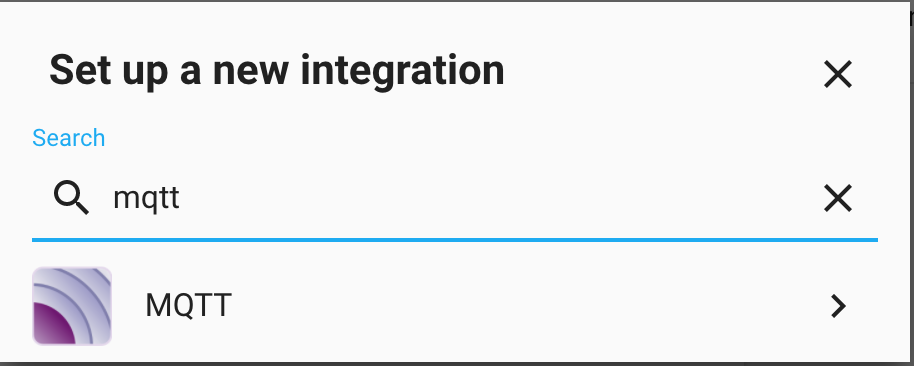
This brings up a list of possible integrations. Type “mqtt” in the search field to quickly navigate to the MQTT integration.
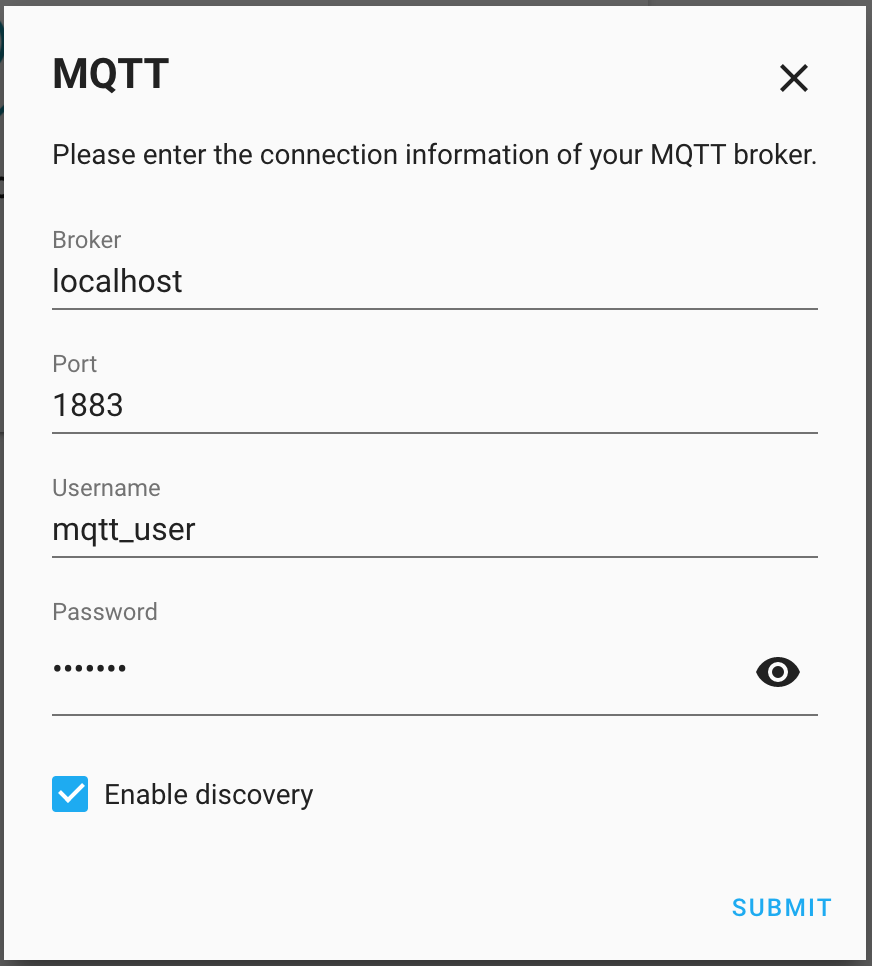
Click on the MQTT icon and configure the connection to the Mosquitto MQTT server:
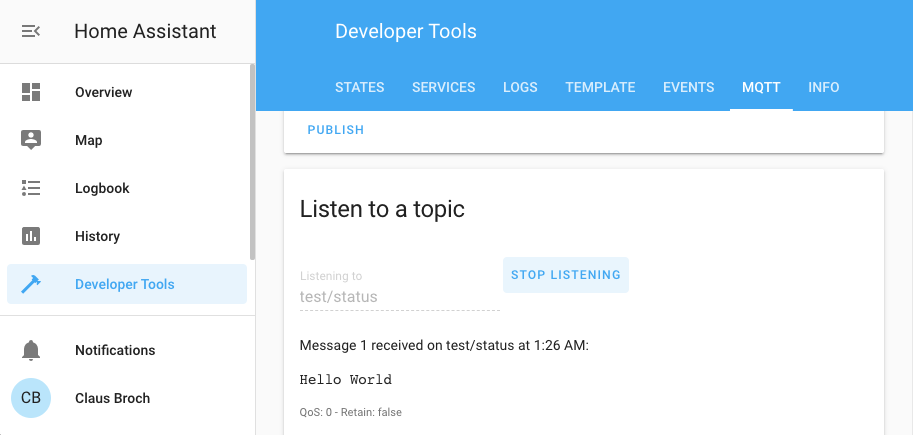
In order to verify that the connection to Mosquitto is running, navigate to the “Developer Tools” menu and select the MQTT tab. In the “Listen to a topic” section, enter “test/status” and click on the “Start Listening” button.
Open a terminal window on the MQTT server and publish a message on the same topic:
$ mosquitto_pub -u mqtt_user -P <password> -t test/status -m "Hello World"
If everything is connected properly, the message will now show up in the browser window:
Hope you enjoyed this post and find it useful. Please feel free to share any comments or suggestions below.